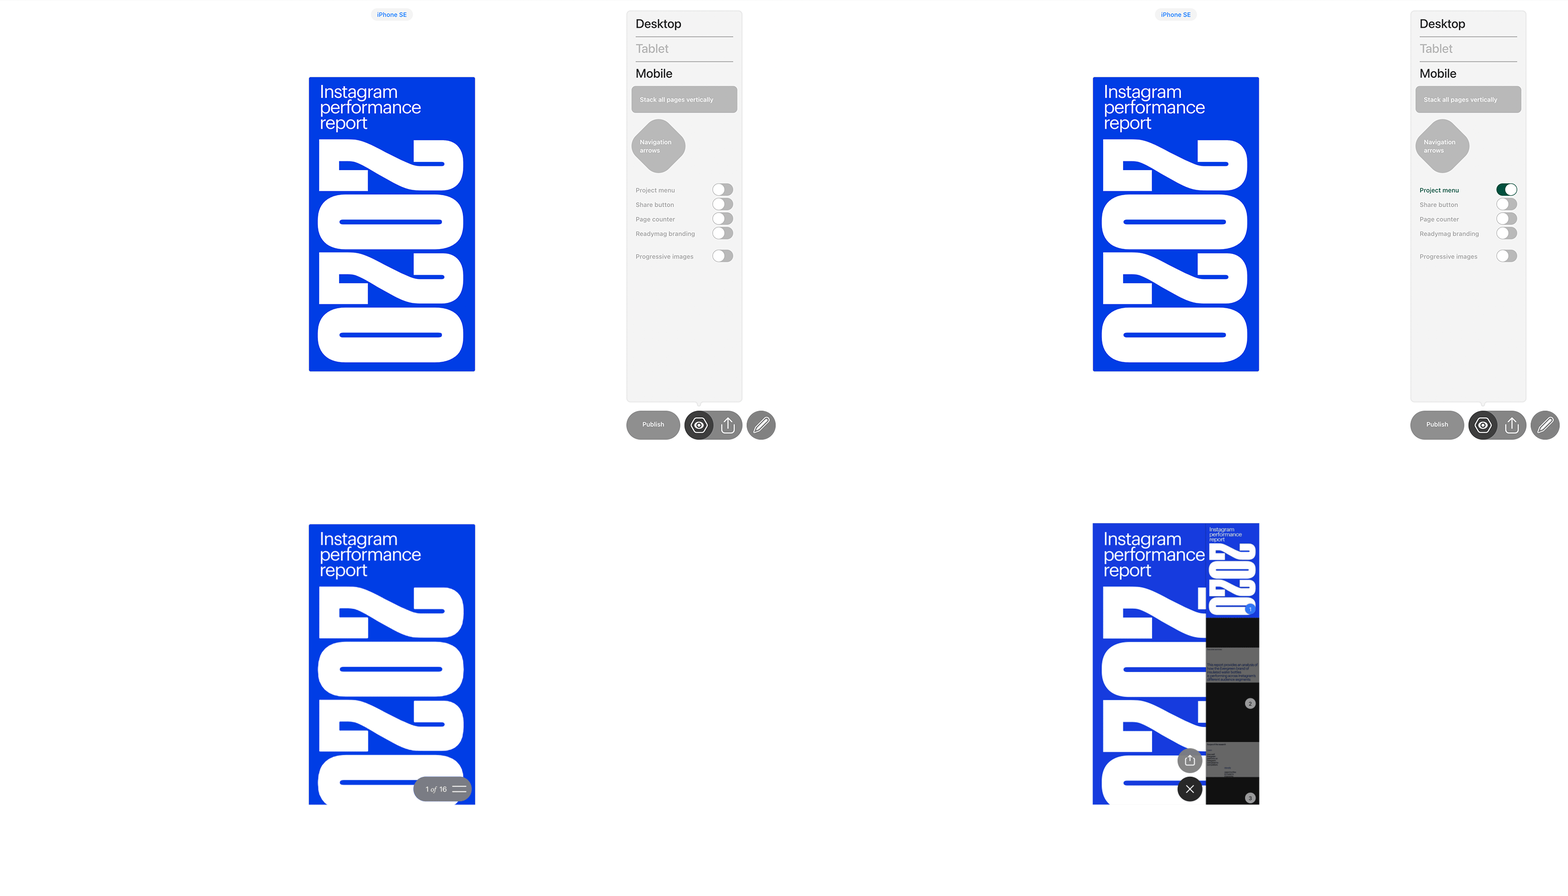
The Viewer settings allow you to toggle default interface elements, and select how your project is displayed and navigated.
Enter Preview Mode and click on the Viewer settings icon to access. The Desktop / Tablet / Mobile viewer tab will now show, depending on what type of layout you’re currently editing.
Viewer options can be set separately for each of your layouts. It helps adapt user experience depending on the device.
How to use
Here are a few examples of when independent viewer settings can be useful.
1. Enable a Project menu for mobile only. This allows you to add a burger menu to the mobile version with a single click.

2. Enable ‘Stack all pages vertically’ on the Mobile viewer. Keep this option disabled in the Desktop Viewer settings.
As a result, the pages of your desktop version will be navigated horizontally. On mobile devices, the scroll will remain vertical, suitable for normal user behavior patterns.
Stack all pages vertically
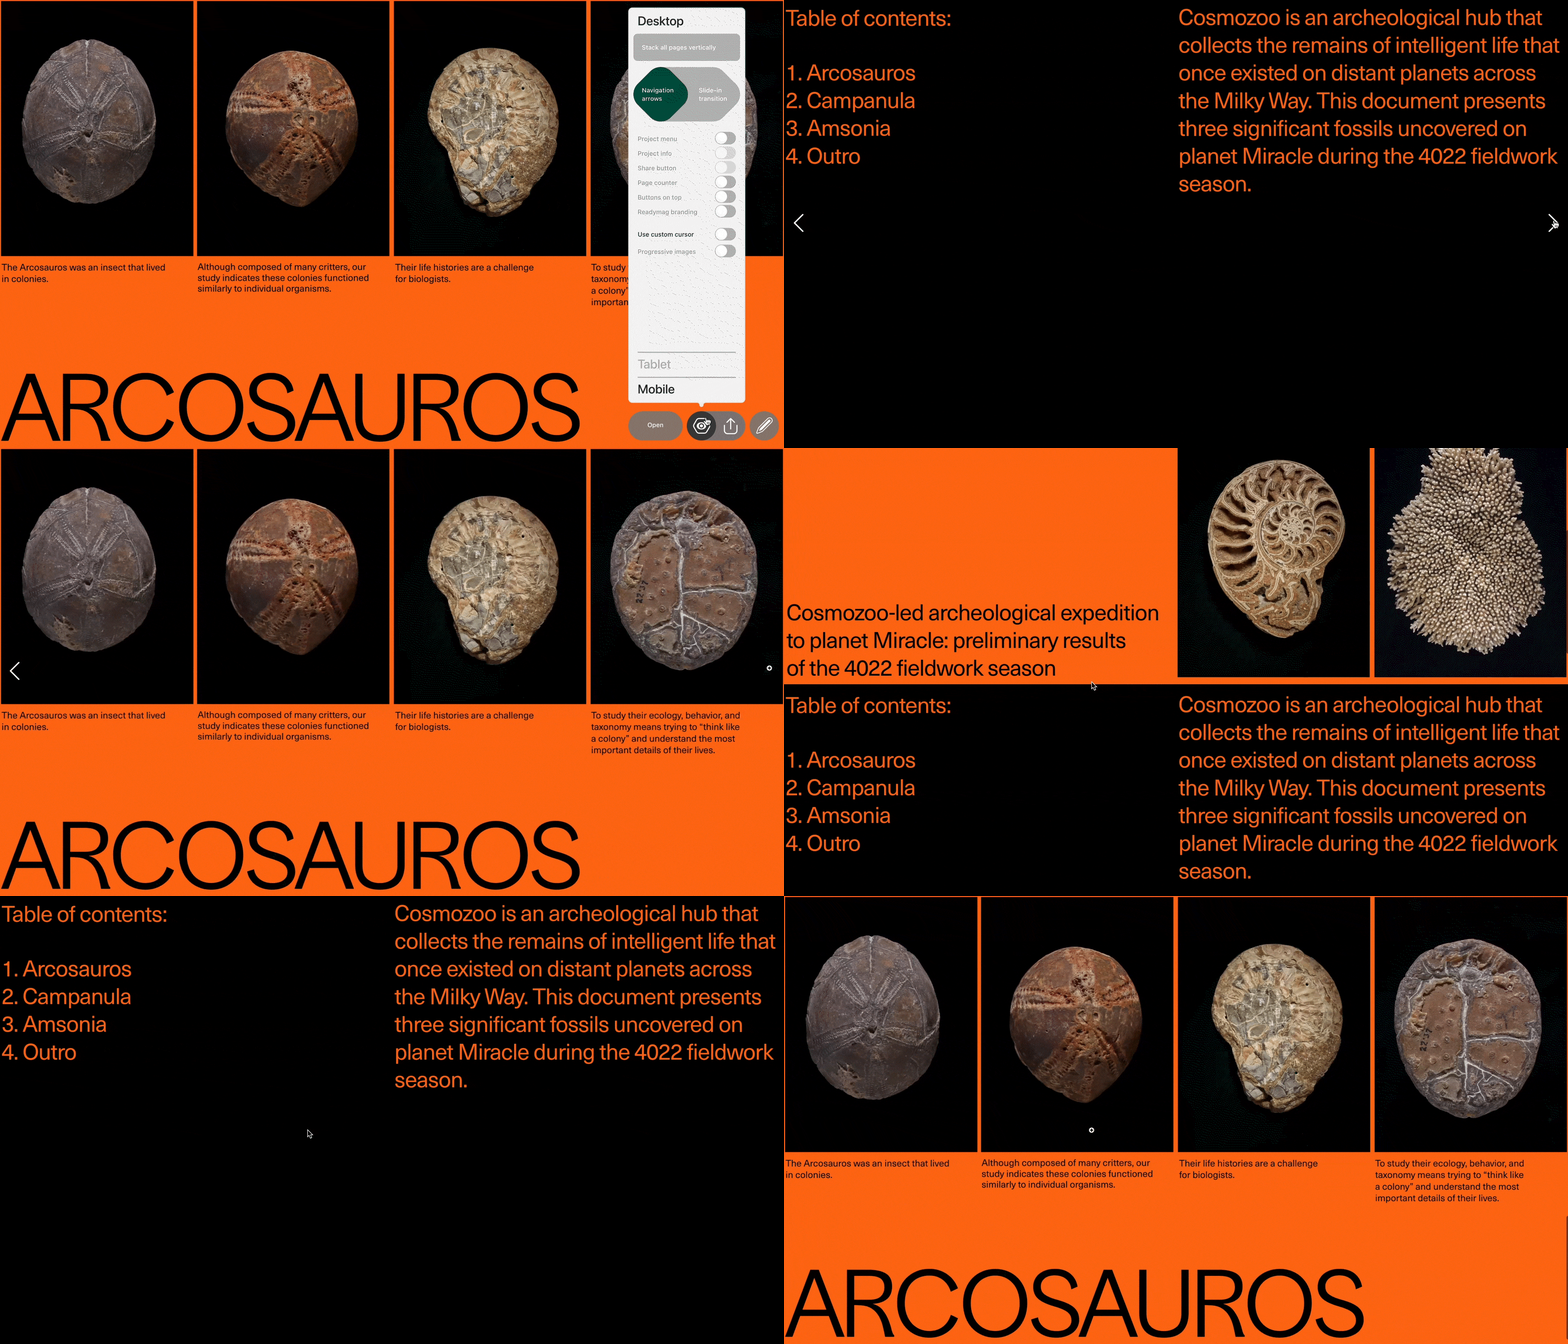
By default, pages in your project are independent of each other. To allow visitors to reach inner pages, you should create a menu or add direct links to those pages. You can also activate Navigation arrows in the Viewer tab: as a result, white arrows will appear on the sides of the user’s screen. To make them black, click the white-black icon next to the right arrow in Editor mode.

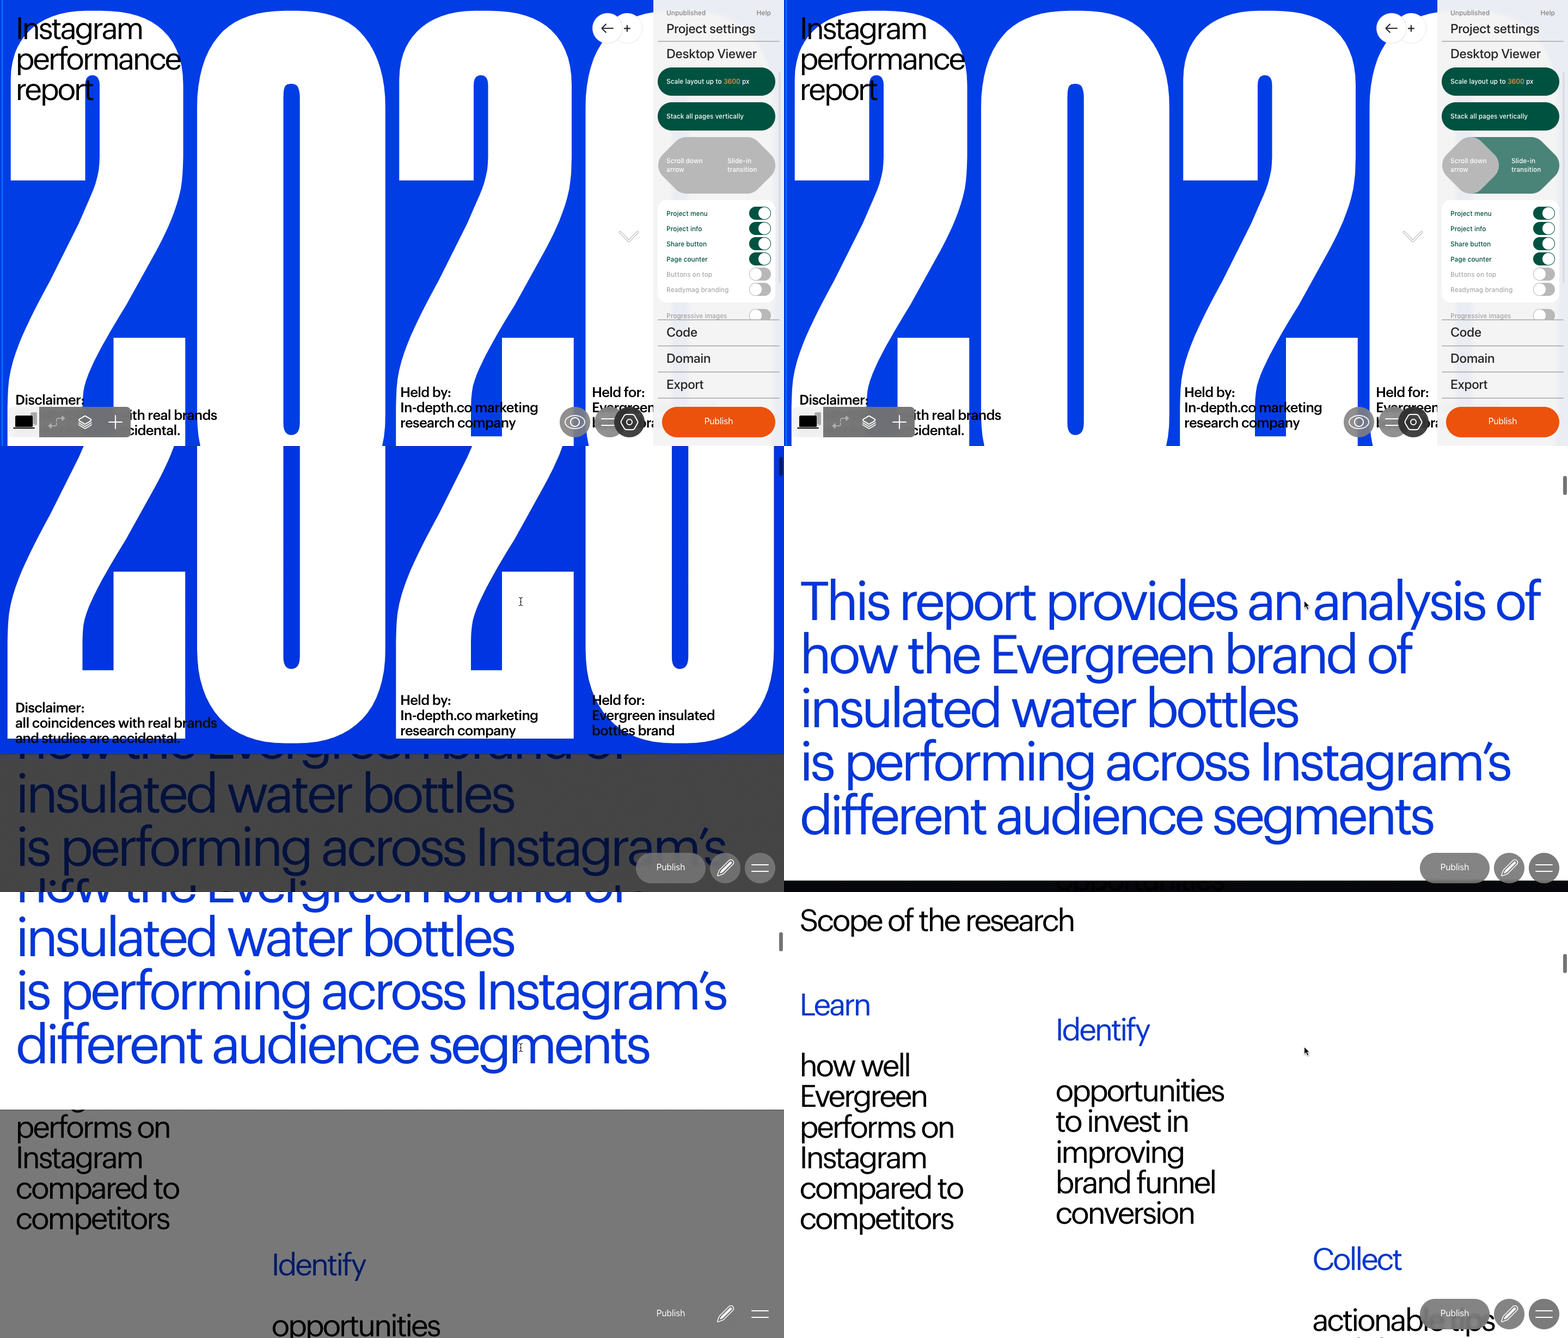
If you want pages to scroll one after another, open the Viewer tab and activate ‘Stack all pages vertically’. Enable ‘Scroll down arrow’ to let visitors access other pages by clicking on an arrow at the bottom of the screen.
Slide-In Transition
This attribute allows the next page of your project to appear on top of the current one.

Slide-in transitions may slow down projects with heavy animation.
You can keep Navigation arrows and Slide-in Transition enabled at the same time or select only one (or none).
Other interface elements
By default, all of these interface elements are shown at the bottom of the browser window on the published version of your project.
- Project menu: add a button that opens clickable page previews.
- Project info: display your user pic and publication date at top of the project menu.
- Share button: add a button that allows direct project sharing of your project to Facebook, Twitter, Pinterest, and LinkedIn.
- Page counter: show the page number.
- Buttons on top: shifts all interface controls to the top of your pages.
Progressive images
Enable lower quality placeholders that display while your project is loading. This feature may come in handy if your project has a lot of heavy content and loads slowly.
Readymag branding
Enable or disable the Readymag sign-up form on the last page of your project. If you disable this setting and still see the ‘Made with Readymag’ shield in your projects, it means that you have probably exceeded your project view limit and need to pay for additional views. Learn more here or contact our support team.
Use custom cursor
This option allows you to replace the default cursor and pointer cursor for the entire project. You can find more information here.